

As React developers, we know how hard it can be to control deeply nested child components from a parent component. Several tools and methodologies are available for doing this. Some of these techniques include passing controlled state down explicitly via props (the dreaded prop drilling approach), Compositioning (Using the children prop), enclosing a context over the children elements(createContext & useContext) & Global state management by using stage management libraries such as Redux or Mobx.
All the approaches mentioned above are valid solutions to the problem posed above. The only issue is most of the solutions involve either a lot of code restructuring and manual intervention(in the case of prop drilling and composition) or boilerplate code scaffolding(In the case of using context or most global state management libraries).
With signals, Controlling such states becomes trivial and developer friendly but do note that there are certain caveats to this approach if you use React's latest concurrency features in your code base. At this point, there are no official exports from the react library that fully supports signal-based state updates. As a result, we'll use the lightweight version of react known as Preact that offers this capability.
Using Preact Signals in React
Let's start by creating a new react project. I'll scaffold a new project using Vite as the build tool and pnpm as the package manager. You may follow along with the aforementioned tools or any tool that you are comfortable using.
Run the following in your shell:
pnpm create vite
It will show a few prompts like the library to install(choose React) & whether to use typescript or not(I've chosen to use typescript with swc compiler). Finally, Run pnpm install to install all dependencies into node_modules.
To start the development server with the boilerplate code introduced by vite, Execute the following in your shell:
pnpm dev
To use react signals we'll have to install the preact signals package from pnpm. In your shell, run:
pnpm i @preact/signals-react
Once this package gets installed, We can start using signal-based state variables by importing the
signal function from the preact signals package as follows:
GlobalState.ts
import { signal } from "@preact/signals-core";
To create a global state variable, Do the following in the global scope of your file(Basically not inside your React component code):
GlobalState.ts
  import { signal } from "@preact/signals-core";
  const theme = signal('light');
Now you can use this in your components and change values by direct mutation(there's no need to return new values in a setter function as the update is handled internally by proxies). We can do one better. Instead of using the global state variable directly, we can use the computed function provided by the preact-signals library to derive the state and use it in our components as follows:
GlobalState.ts
  const theme = signal('light');
  import { computed, signal } from "@preact/signals-react";
  const currentTheme = computed(() => theme.value);
  export default currentTheme;
Now it's only a matter of importing the currentTheme in any of your tsx files and embedding it into the JSX using the curly brace notation({currentTheme}).
Somefile.tsx
<div>{currentTheme}</div>
To make changes to the theme state variable, You can either directly export and import the theme global state variable or preferably create helper functions to restrict the usage of the theme state variable. For example:
GlobalState.ts
  const theme = signal('light');
  import { computed, signal } from "@preact/signals-react";
  const currentTheme = computed(() => theme.value);
  export const toggleTheme = () => (
  currentTheme.value === 'Light' ?
  theme.value = 'Dark'
  :
  theme.value = 'Light'
  );
  export default currentTheme;
To use toggleTheme function, Import it in your tsx files and call it like any normal function.
Somefile.tsx
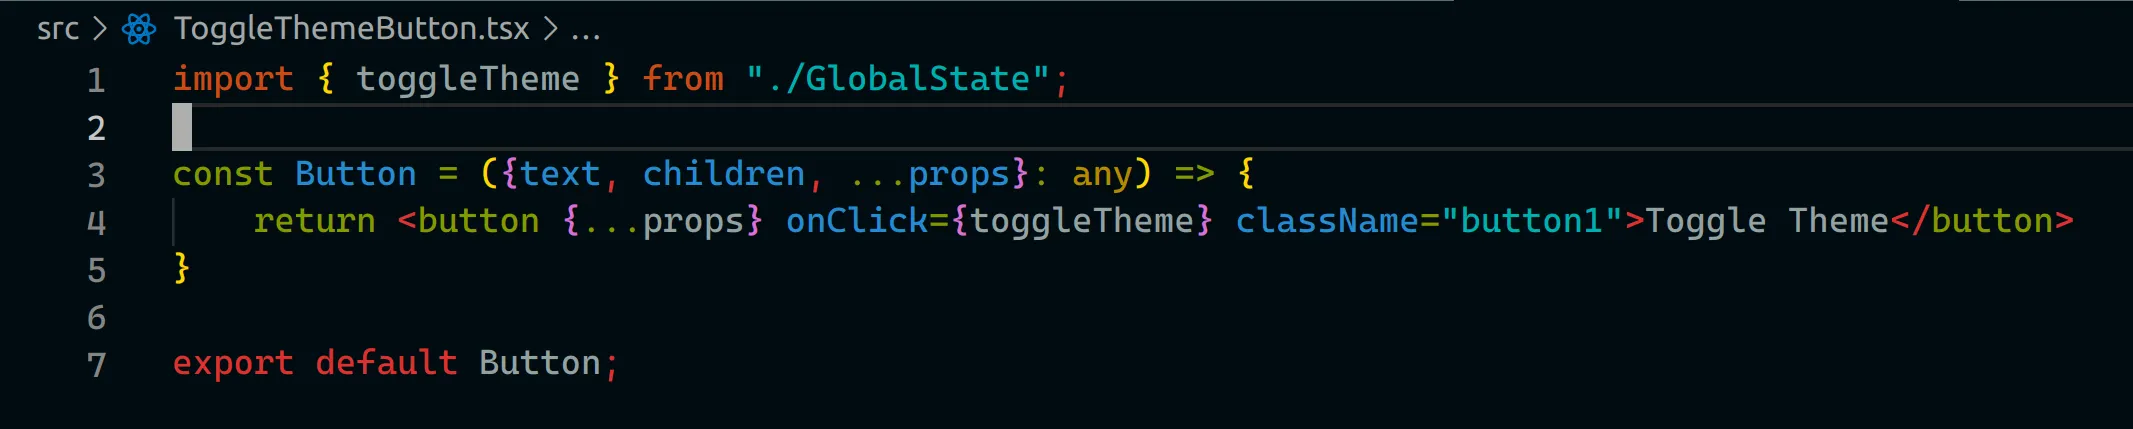
<button onClick={toggleTheme}>Toggle Theme<button>
Just by looking at the sample code, it is quite evident that using and manipulating global state variables becomes a lot easier plus there are no performance side effects related to unnecessary rerenders as signal-based state change cause the affected part of the DOM tree to get the new state without causing the entire component to rerender.
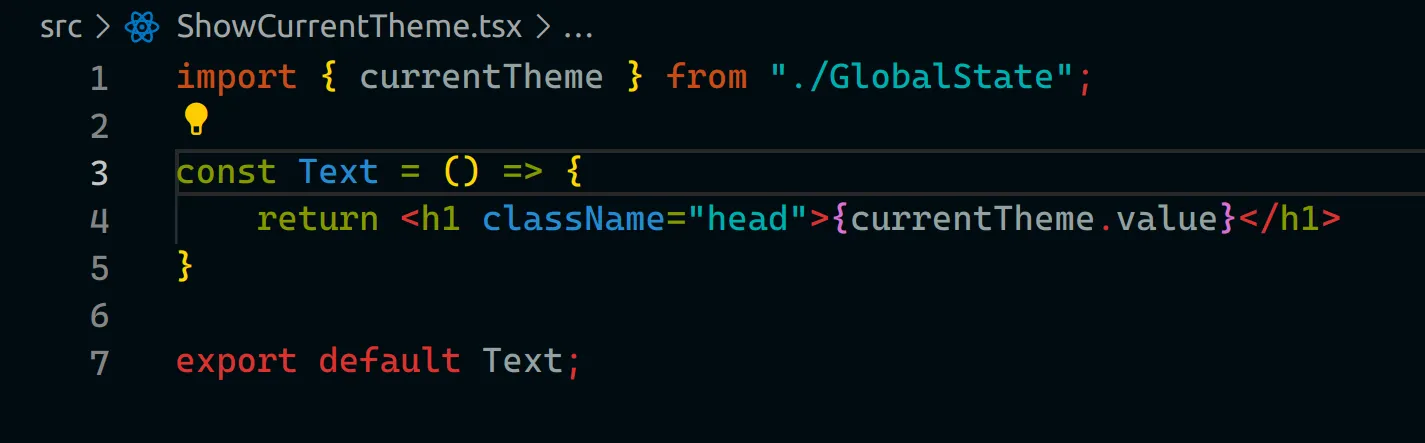
Final Code
App.tsx
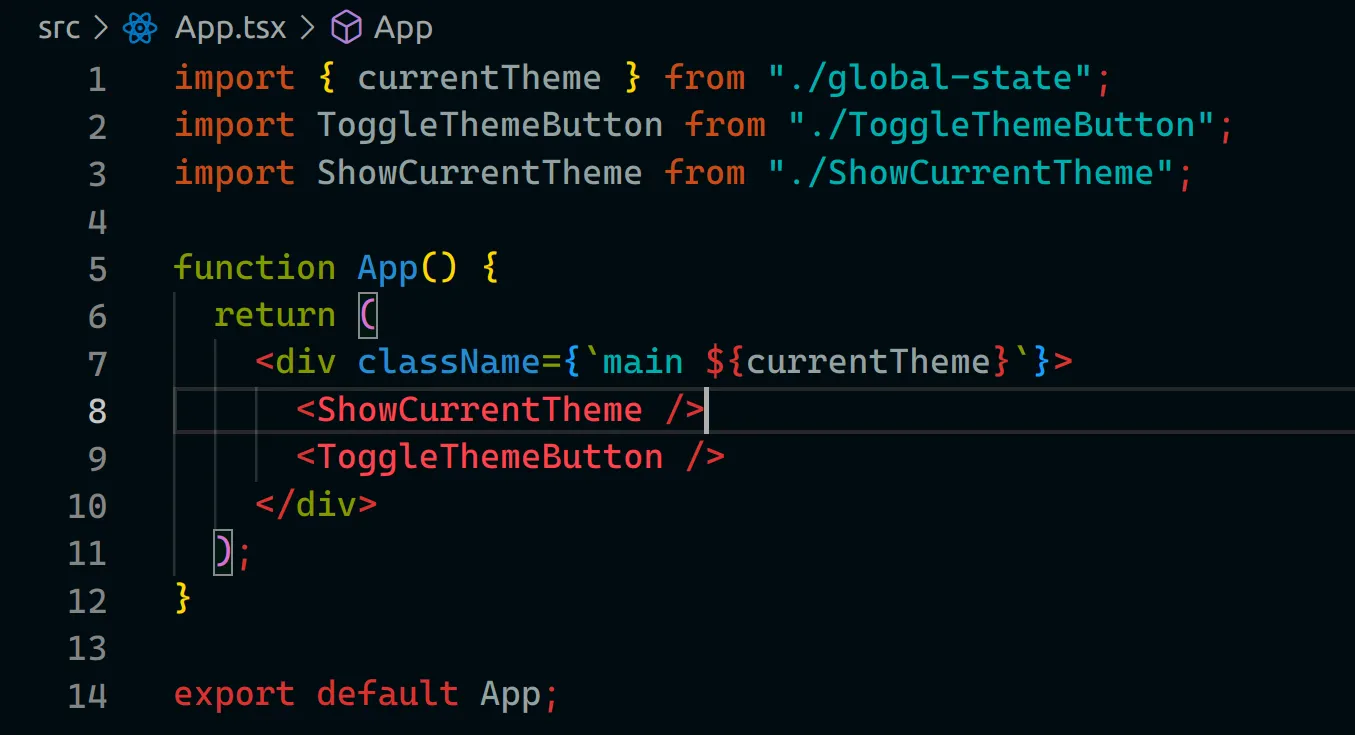
GlobalState.ts
ShowCurrentTheme.tsx
ToggleThemeButton.tsx
Many other use cases and advanced scenarios can leverage the various other exports from the preact-signals package. There are hooks variant to create signal-based state within local to your function component if you do not want it to be globally accessible with the added benefit of being more performant with updates. Reading the preact signals documentation for more complex use cases and guidelines on best practices is a necessary first step in your journey to learn and integrate signal-based state management into your codebase. You can checkout the above code at this link.
Conclusion
React signals are a powerful tool for React developers that can help create more efficient and maintainable code. By using React signals, you can create loosely coupled components that communicate with each other without relying on props or state. This can lead to better performance, improved code readability, and easier maintenance over time. If you are looking for a way to improve your React applications, consider using React signals in your code.